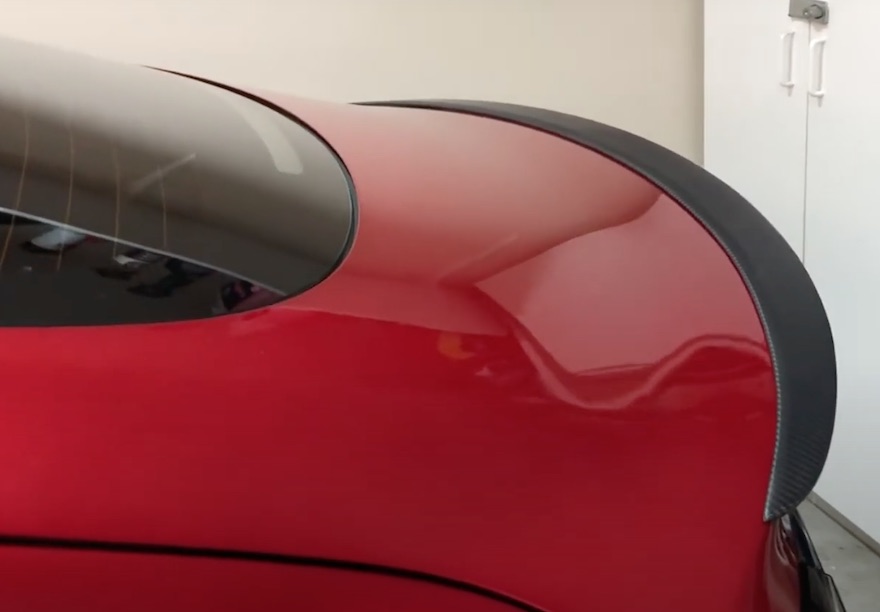
Installing an aftermarket spoiler on a Tesla Model 3 or Model Y is a relatively straightforward process. Like anything, preparation is key to a professional finish.
A correctly installed spoiler should last for the life of the vehicle, however, many aftermarket spoilers sold today, unfortunately, provide inadequate installation instructions or poor quality adhesive.
If your spoiler does not come with pre-fitted 3M automotive-grade body tape, we advise that you replace the tape it came with 3M automotive grade tape. This will ensure the best possible adhesion for the long term.
What tools and materials do you need?
You will need some basic tools and materials prior to installation, we have listed them here and provided the product links if you need to purchase them.
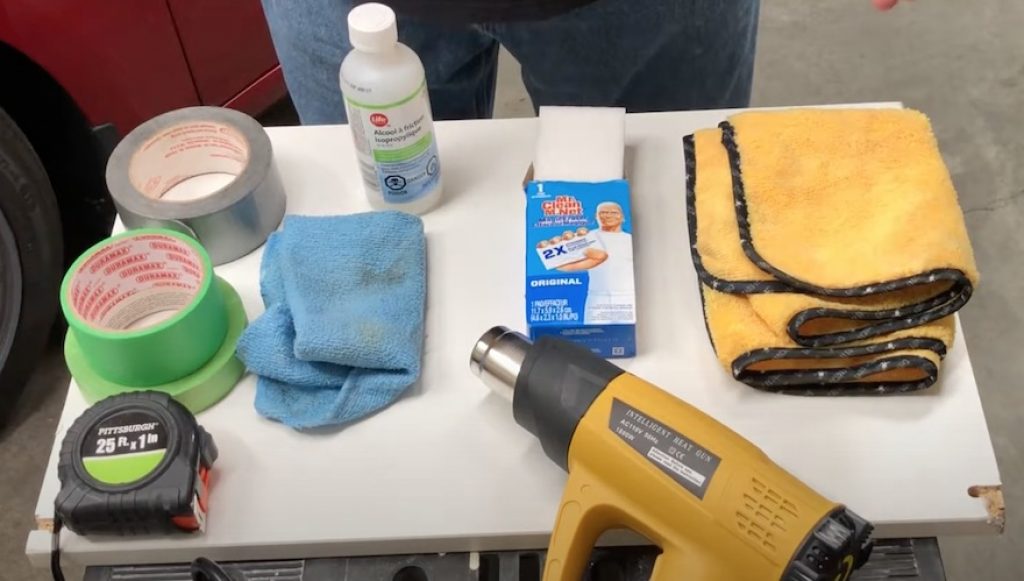
- Automotive grade 3M body tape
- Isopropyl alcohol
- Measuring tape
- Heat gun
- Soft microfibre cloth
- Gaffer tape
- ScotchBlue painters tape
Time Needed : 30 minutes
How to install a Tesla Model 3 or Model Y spoiler
Prepare the surface
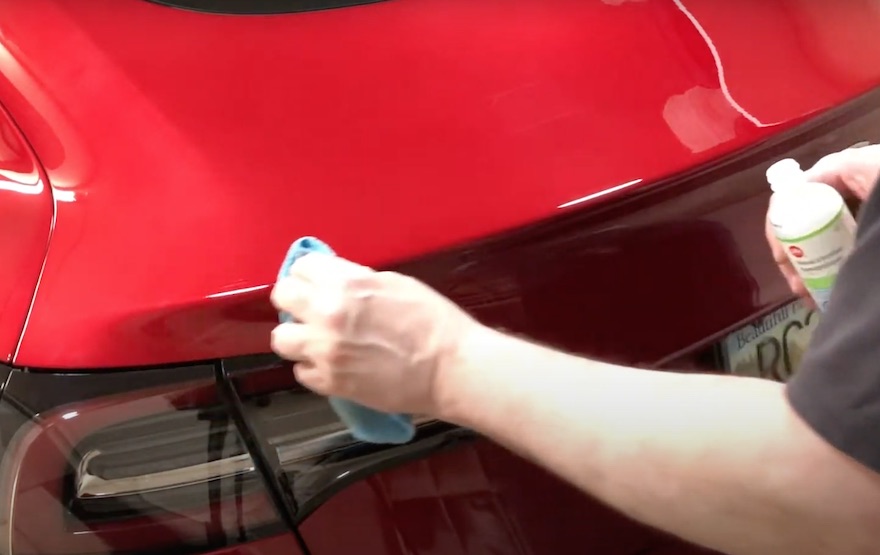
Clean the paint surface with isopropyl alcohol, ensure there are no particles or bumps in the paintwork.
Position the spoiler
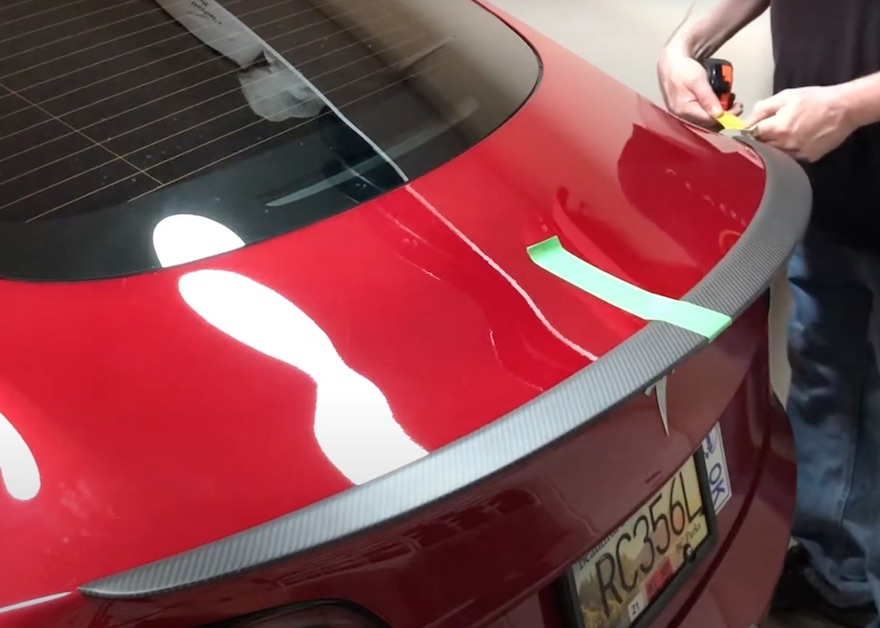
Place the spoiler on the vehicle (without peeling the mounting tape) and position it until it is 100% centred. Use the painter’s tape to hold it in place in several spots
Warm up the surface
If the temp of the paint surface is below 25 degrees Celsius, use a heat gun to bring it up to around 30-40 degrees Celsius.
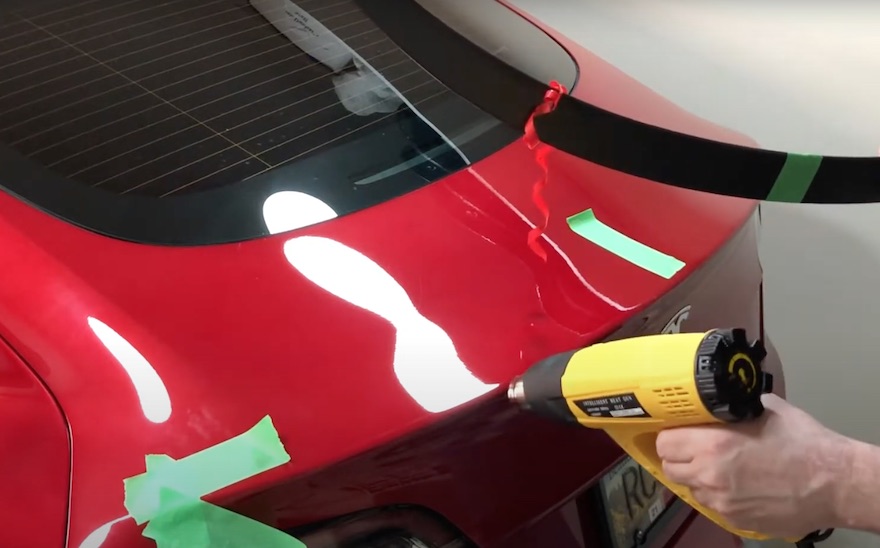
Stick the ends down
Peel a small amount of the adhesive double-sided tape on each end of the spoiler and place the spoiler within the tape markings.
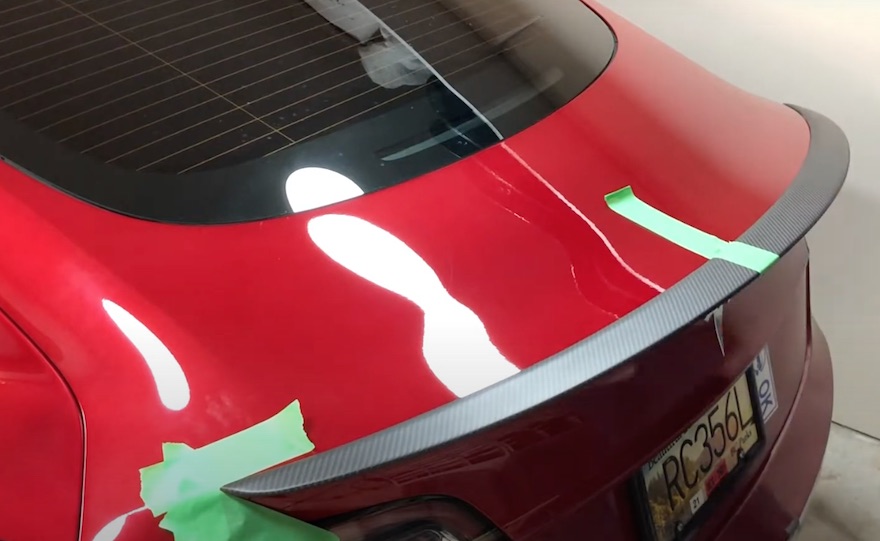
Remove the adhesive tape
Firmly press and slowly peel the mounting tape across the entire spoiler
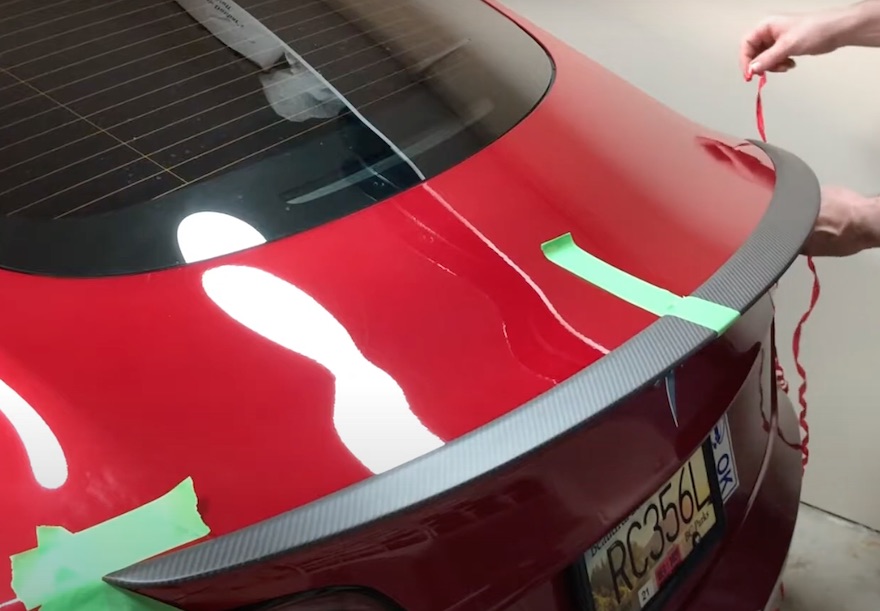
Tape down and warm up to activate the glue
Tape down the spoiler and using the heat gun gently heat up the spoiler to activate the glue and ensure maximum long-term adhesion. Wait at least 2 hours and then remove the tape.
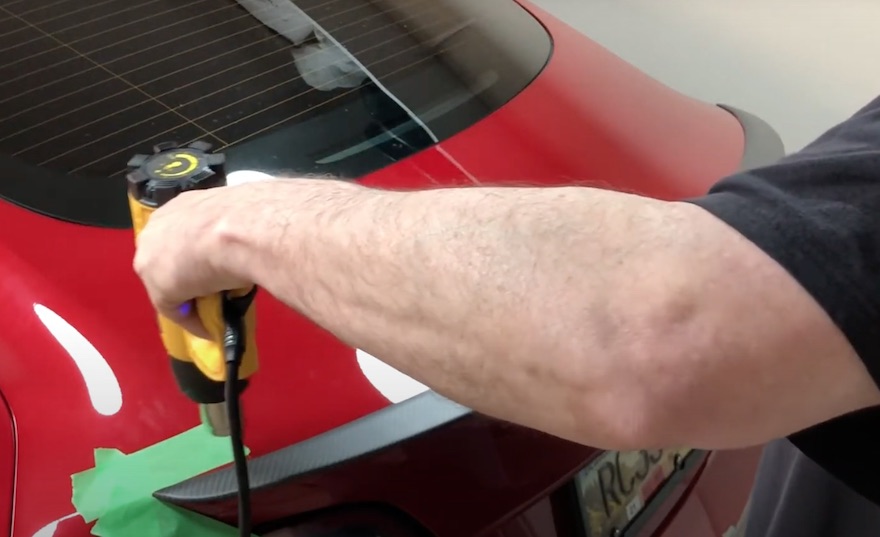
Finishing up
Remove the gaffer tape that was holding the spoiler tight and wipe down any marks or residue from the tape.
If there is a section that is not stuck down, use the heat gun to soften the glue and tightly gaffer tape the section down.